Before the first ride: three checks
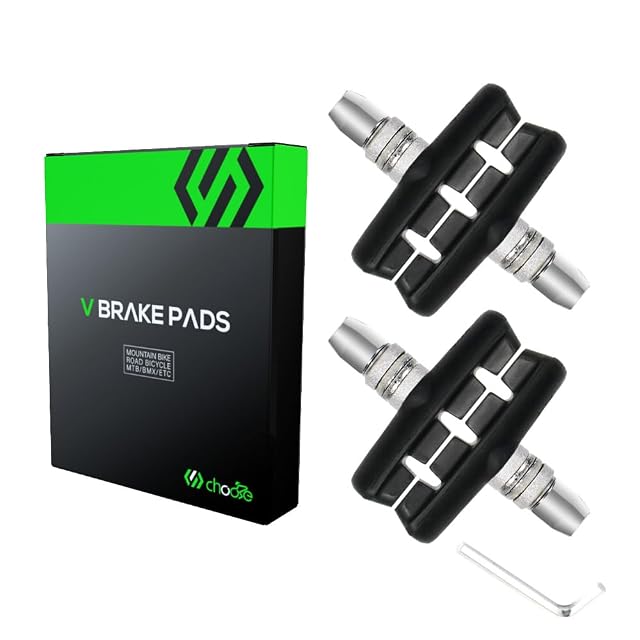
Brakes. Squeeze both levers. They should bite firmly well before reaching the bar. If a lever comes close to the bar, stop: that is a cable, a pad or, on hydraulic disc brakes, a bleed question, and not something to discover on a descent. On rim brakes, look at the pads: if the grooves are gone, they are done. Two pairs of 55 mm Chooee brake shoes cost about $10.
Tires. Squeeze them, then look at the sidewalls for cuts, bulges and cracking from age. Read the two ETRTO numbers on the sidewall, such as 47-559, so you know which tube to carry, and pump to a pressure inside the range printed there.
Wheels. Check the quick-releases are closed and tight, or the thru-axles fully screwed in, and that each wheel sits straight in its dropouts. Spin each wheel: it should run without rubbing the brakes.
Then: measure the chain
A chain wear gauge costs a few dollars and decides the whole budget. Past the maker’s limit, the worn chain has worn the cassette to match, and you are replacing both. Inside it, a new chain alone restores the drivetrain. Many makers and shops use 0.5% elongation as the limit for 11- and 12-speed chains and 0.75% for 10-speed and below.
Do this before buying anything else.
Then: the cheap transformations
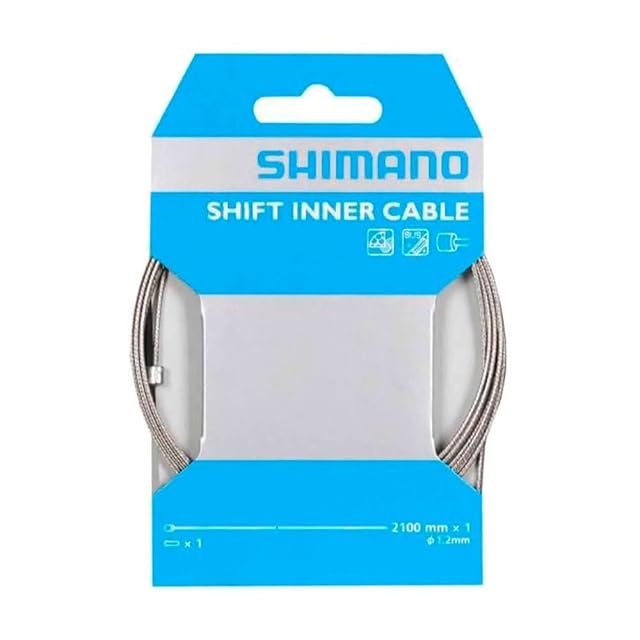
Cables and housing. Grit inside a housing is why an old bike shifts vaguely and brakes feel spongy. A full recable is one of the largest improvements per dollar available; a Shimano shift cable of 1.2 × 2,100 mm costs about $10. Replace the housing with the cable, not the cable alone.
Tires, if the tread is thin or the sidewalls are cracked. Grip and puncture resistance both fall away long before a tire looks finished.
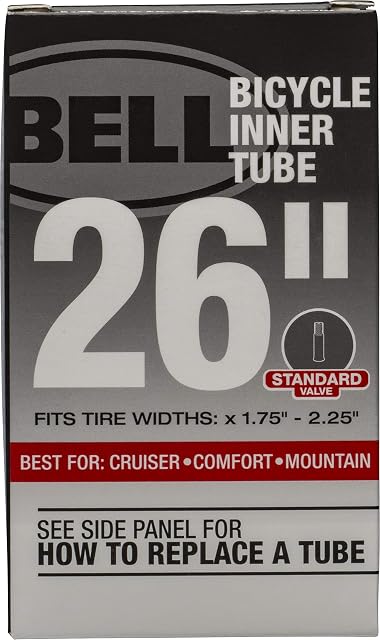
Tubes, to the size printed on the tire. The Bell inner tube on this site fits 26 × 1.75–2.25-inch tires with a 35 mm Schrader valve.
Brake pads, at the wear limit the brake maker publishes, not when braking already feels poor.
Bolt checks, with a torque wrench
Stem, handlebar clamp, seat clamp, rotor bolts and rack fixings carry printed torque figures. On a bike whose history you do not know, checking them against those figures is the most worthwhile ten minutes you will spend. Use the number on the part, and stop at it: carbon parts crack when overtightened.
Where to stop
A bottom bracket or headset that clicks under load, a wheel that will not true, a seatpost that will not move, or a frame or fork with any visible crack: that is a workshop, not a project.
Prices quoted in this text are dated readings and can differ from the live price in the buy box.
The questions riders ask
What should I check before the first ride?
Brakes, tires and quick-releases, in that order. Squeeze both levers and check they bite well before reaching the bar; squeeze the tires and look at the sidewalls; check the wheels are seated in the dropouts and the levers or axles are closed.
What is usually worth replacing straight away?
The chain and the cables, and often the tires. All three are consumables, all three are cheap, and all three transform how a neglected bike feels. A Shimano shift cable of 1.2 × 2,100 mm is about $10.
When is a chain worn out?
When a wear gauge drops in at the maker's limit. Many makers and shops use 0.5% elongation for 11- and 12-speed chains and 0.75% for 10-speed and below. Replace the chain then, and the cassette usually survives; wait longer and both go.
How do I know which inner tube to buy?
Read the ETRTO numbers on the tire sidewall, such as 47-559: width and rim diameter in millimeters. A tube lists the range it fits; the Bell tube on this site, for instance, is 26 × 1.75–2.25 inches with a 35 mm Schrader valve. Check the valve type on your rim too.
When should I give up and take it to a shop?
A bottom bracket or headset that clicks under load, a wheel that will not true, any visible crack in the frame or fork, or a seized seatpost. Those need tools or judgment beyond a home setup.
Last reviewed November 4, 2026