First, the free adjustments
Saddle height. The one that changes the most. Set it so your leg is almost straight with your heel on the pedal at the bottom of the stroke; pedaling normally on the ball of the foot then leaves a slight bend in the knee. Adjust in 2 to 3 mm (0.08 to 0.12 in) steps and judge over a full ride. The minimum insertion mark on the seatpost must stay hidden inside the frame: if you can see it, the post is too high.
Saddle angle. Level to start. Very few riders are best served by a strongly nose-up or nose-down saddle, and a degree or two changes the pressure a lot.
Saddle fore-aft. The rails slide in the clamp, moving your weight between your hands and the seat. Sliding it back takes weight off the hands; sliding it forward takes it off the seat.
Handlebar height. Spacers above and below the stem move the bars up or down. Tighten to the torque printed on the stem: it clamps the steerer, and the bars steer the bike.
Change one thing, ride, judge. Changing three at once teaches you nothing. Photograph the starting position so you can go back.
Then, the cheap changes
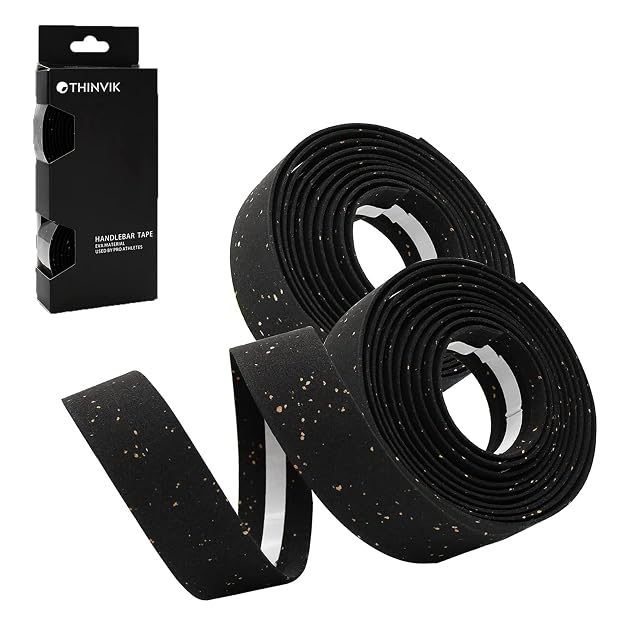
Ergonomic grips or new bar tape. On a flat bar, a grip with a wing supports the heel of the hand and changes the wrist angle, one of the more effective fixes for numb hands. On a drop bar, fresh tape with more cushion does the same; the Thinvik tape on this site puts cork in PU over an EVA layer.
A second hand position. Bar ends on a flat bar give you somewhere else to put your hands. Over an hour, moving your hands matters more than any amount of padding.
A wider tire at lower pressure, if your frame clears it. It does more for comfort than most suspension parts, for less money and with no moving parts.
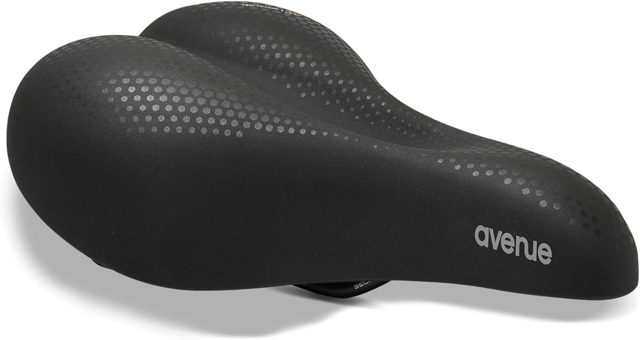
A saddle that fits your sit bones. Wider is not always better: a saddle should support the two sit bones, not press on the soft tissue between them. A relief channel, like the one on the Selle Royal Royalgel, takes pressure off the center.
Then, if it is still uncomfortable
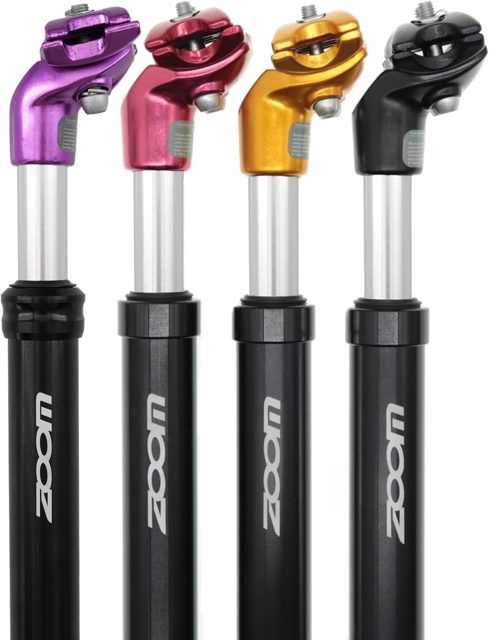
A suspension seatpost on a rigid frame, set to your weight. The DJC post on this site combines a spring and a rubber damper, in 27.2, 30.9 and 31.6 mm, for riders of 110 to 220 lb. Measure your current post’s diameter first: it is stamped on the post. A post set too soft bobs as you pedal; one set too hard does nothing.
Where this page stops
Persistent pain, and anything involving a knee, is a question for a professional bike fitter or a clinician rather than a product page. Cleat position affects knees directly, and this site does not give advice on the body.
The questions riders ask
Should I buy a gel saddle cover?
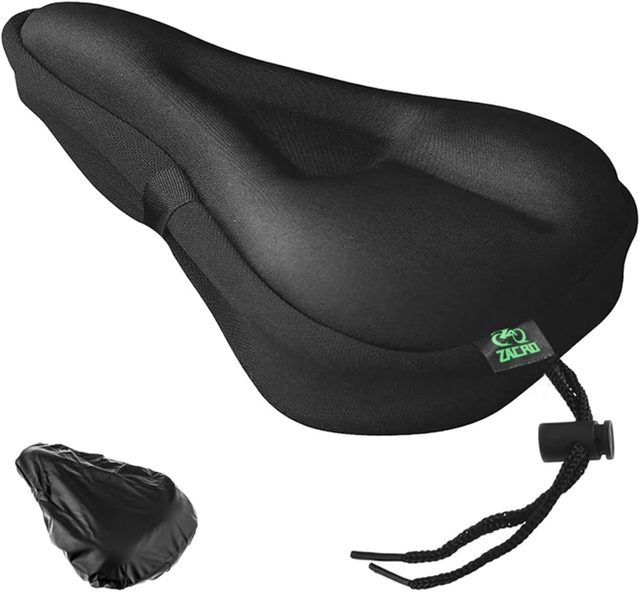
For an exercise bike or a wide city saddle, it is a reasonable comfort addition, like the Zacro cover on this site. On a bike where you are uncomfortable over distance, the cause is usually fit: height, angle or saddle width. A cover over the top addresses none of them.
How high should my saddle be?
With your heel on the pedal at the bottom of the stroke, your leg should be almost straight. When you pedal normally on the ball of the foot, that leaves a slight bend in the knee. Adjust in 2 to 3 mm (0.08 to 0.12 in) steps and judge over a whole ride.
What is the minimum insertion mark?
A line on the seatpost showing how much of it must stay inside the frame. The mark must remain hidden in the seat tube; if you can see it, the post is too high and can break the frame or the post. If the saddle still feels low with the mark just hidden, you need a longer seatpost.
When should I see a professional?
For persistent pain, especially in a knee, and before spending money on components. Cleat position affects knees directly, and a bike fit is cheaper than a wrong saddle.
Last reviewed November 7, 2026